DIY Fermented Pickles
These pickles are a little salty, a little briney and FULL of herbaceous flavor. They’re nothing like the sweet, vinegary quick pickles you often encounter, thanks to lactic-acid fermentation (the same process used to make yogurt and sauerkraut). And these pickles are perfect for folks who want to try fermentation but are nervous about letting veggies idle in a big crock for weeks. They pickle in just three days! Slice them up and serve them on sandwiches and charcuterie boards, or eat a whole one as a snack. If you’re in a State Fair frame of mind, put one on a stick and walk around the house taking big, juicy bites.
Makes 1 quart
Preparation time: 30 minutes
Rest time: 3 to 7 days
Ingredients
4 cups ice
7 cups filtered water, divided
1 pound baby cucumbers (4 to 5 inches), rinsed
1 tablespoon fine sea salt
4 garlic cloves, sliced
½ teaspoon fennel seeds
½ teaspoon coriander seeds
½ teaspoon allspice
½ teaspoon black peppercorns
½ teaspoon dill seeds
½ teaspoon mustard seeds
½ teaspoon celery seeds
1 small bunch fresh dill sprigs
1 fresh red chile
1 dried bay leaf
Special equipment: 1-quart glass canning jar and lid
Directions
- To sterilize the pickling jar: Heat oven to 250 F. Wash a 1-quart glass jar with soap and water, dry it, place it on a sheet pan and bake for 10 minutes. Set aside.
- In a large bowl, combine the ice and 4 cups of water. Place the rinsed cucumbers in the ice bath to crisp up, 15 minutes.
- Meanwhile, combine 1 cup water and the salt in a saucepot and warm over medium heat. Stir until the salt dissolves. Remove the pot from the heat, stir in the remaining 2 cups of water, and let cool to room temperature, about 20 minutes.
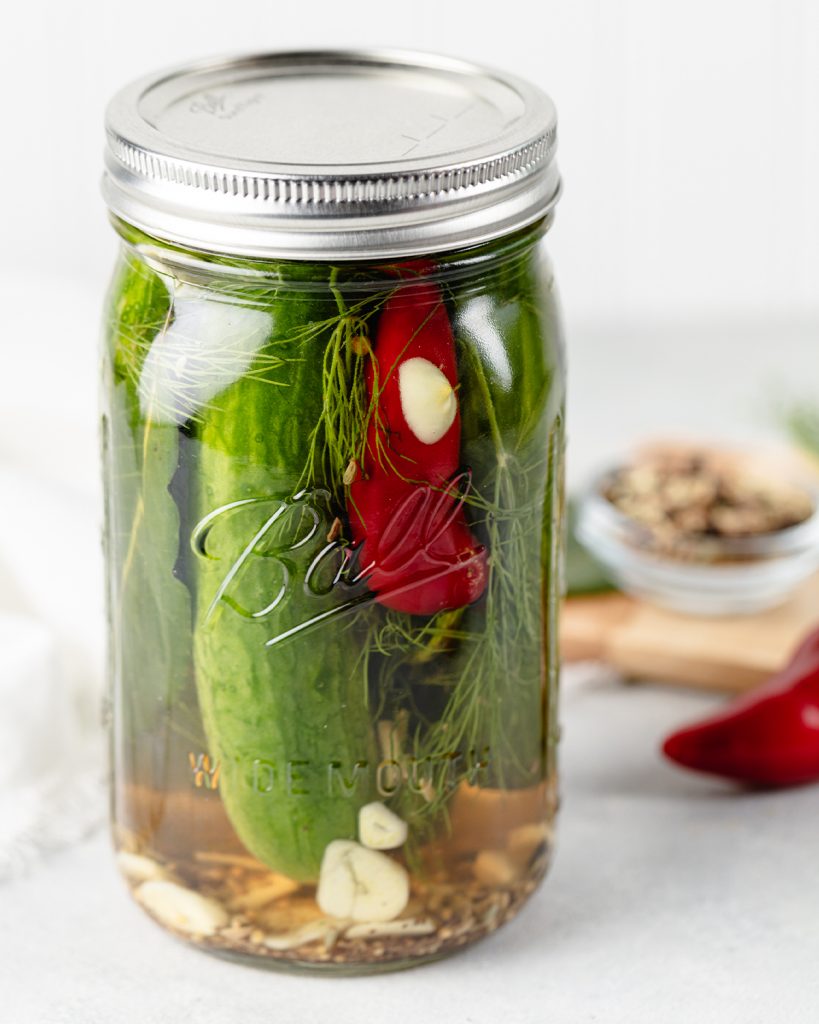
- In the sterilized jar, layer the cucumbers, garlic slices, spices, fresh dill, chile and bay leaf. Pour the salt-water brine over the top, making sure the cucumbers are fully submerged. If needed, you can put a small ceramic or glass dish filled with water on top to keep the cucumbers submerged.
- Screw the lid on the jar tightly and place it on a small plate to catch any drips. Place the jar and plate in a cool, dark place. You will need to “burp,” or open the jar, every 24 hours or so to release the air that builds up. This prevents the jar from bursting.
- After 3 days, check for signs of life: bubbles and clouding. Taste the pickles. If you want tangier, softer pickles, keep fermenting them at room temperature for up to 7 days. Once the pickles have reached the desired flavor and texture, transfer the jar to the refrigerator.
- Serve the pickles cold. The pickles can be stored in the refrigerator, submerged in the brine, for up to 2 weeks.
Recipe adapted from: Feasting at Home