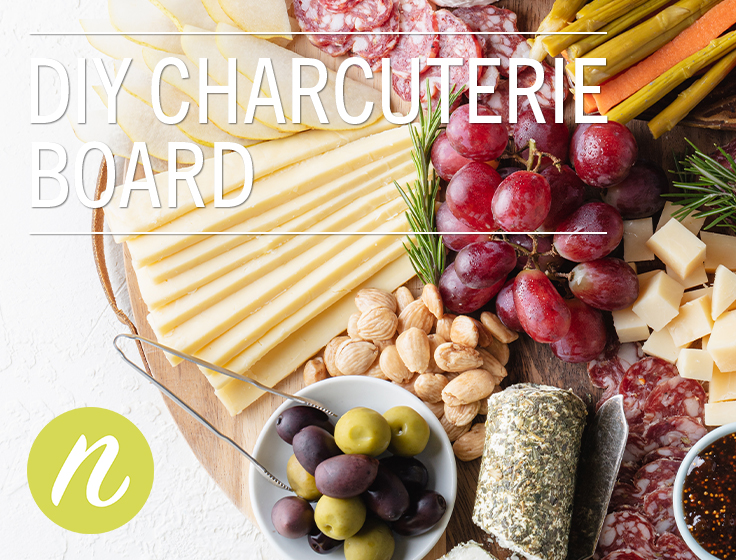


Do-It-Yourself Charcuterie Board
We love charcuterie boards because they always feel like an elegant treat but with hardly any work (no cooking!). And with so many delicious foods to choose from, you can customize a board to suit your fancy, whatever your fancy may be. It also means you can customize your board for every type of palate and dietary restriction.
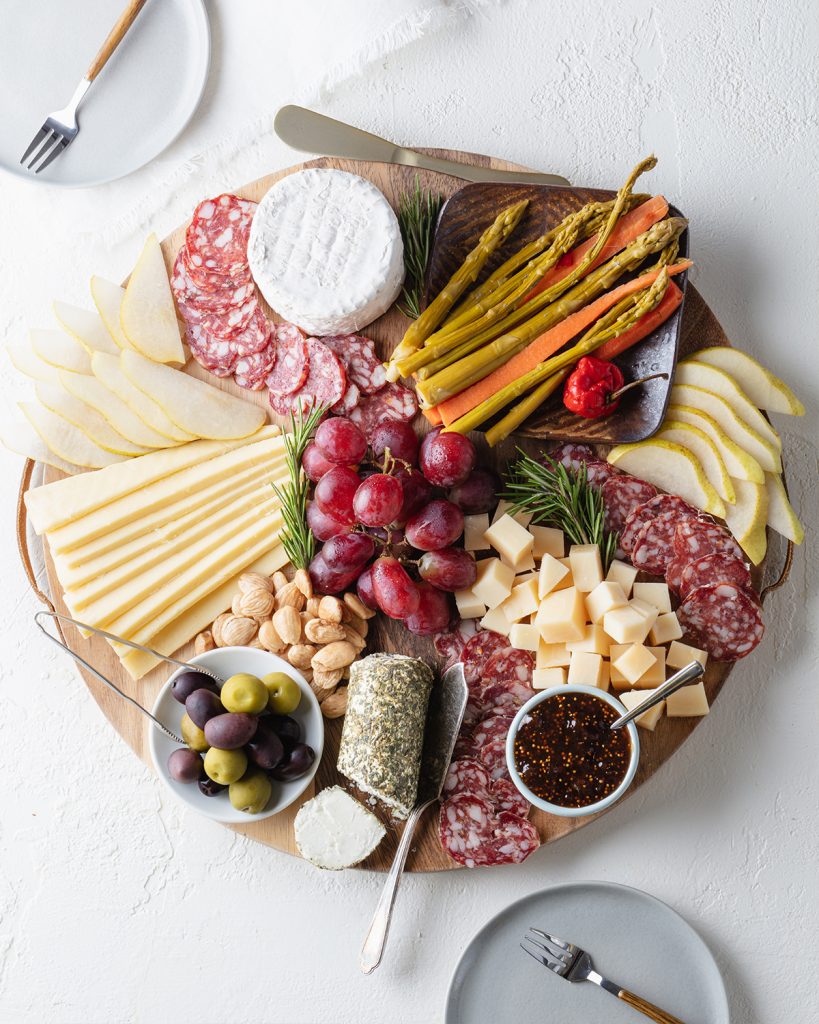
On our board, we included spicy cured meats, creamy cheeses, sweet jam, briny pickled veggies and crunchy nuts — they’re all so rich and satisfying. We love mixing and matching all the fixings because it makes each bite unique.
Everything we chose for this board was crafted using high quality, all-natural ingredients and sustainable farming practices. Use this as a starting place, then add your own flair!
Makes 1 large cheeseboard
Preparation time: 15 minutes
Ingredients
6 ounces Redhead Creamery Little Lucy Brie Cheese, leave whole or cut into wedge
4 ounces Redhead Creamery Lucky Linda Aged Cheddar Cheese, sliced or cubed
4 ounces Deer Creek Vat 17, sliced or cubed
8 ounces Cowgirl Creamery Organic Mt. Tam Cheese, Triple Cream, leave whole or cut into wedge
4 ounces St. Pete’s Select Blue
4 ounce Vermont Creamery chèvre cheese
4 ounces Beehive Creamery Beehive Seahive Cheese, sliced or cubed
4 ounces Marieke Gouda, sliced or cubed
1 Columbus Salami, sliced
4 ounces Divina Fig or Sour Cherry Spread
4 ounces Divina Organic olives
4 ounces Mitica nuts
1 jar Safie pickled vegetables
Fresh fruit of choice (sliced apples or pears, grapes)
Optional fresh herbs for garnish (rosemary, thyme)
Directions
- Select your cheeseboard – 3 to 5 cheeses work for a traditional tray. The goal is to have a variety of tastes and textures on the plate. Use small plates and/or bowls for some items, if desired, or place all charcuterie items directly onto the cheeseboard.
- Begin by placing the cheeses around the tray like the spokes of a wheel with the rind pointing to the inner part of the plate. In the center, build a small pile of grapes or other fruit. Ribbon meats in between cheeses, folding and fanning them to create a nice display. Add pickled vegetables and/or olives towards the edges of the tray.
- Next, arrange a few slices of fruit or groupings of nuts or dried fruit between the cheese, then scatter a few nuts or pieces of dried fruit over the top. Garnish the center by standing up branches of fresh herbs in with the pile of grapes. Place a separate knife on the edge for each cheese and place any condiments (fruit pastes or compotes, honey, or chutneys) on a separate plate with small spoons to serve.
- Make sure to serve the cheese at room temperature! Let your cheeses come to room temperature for at least an hour before serving.
NOTE: For an appetizer or after-dinner plate, 2 to 3 ounces of cheese per person is the rule. For a main course, plan on 4 to 6 ounces per person.
This recipe is brought to you by Nourish, our guide to eating a variety of whole foods that expand your palate, give you more energy and help you live a balanced life. If you love it, check out the entire Nourish collection.